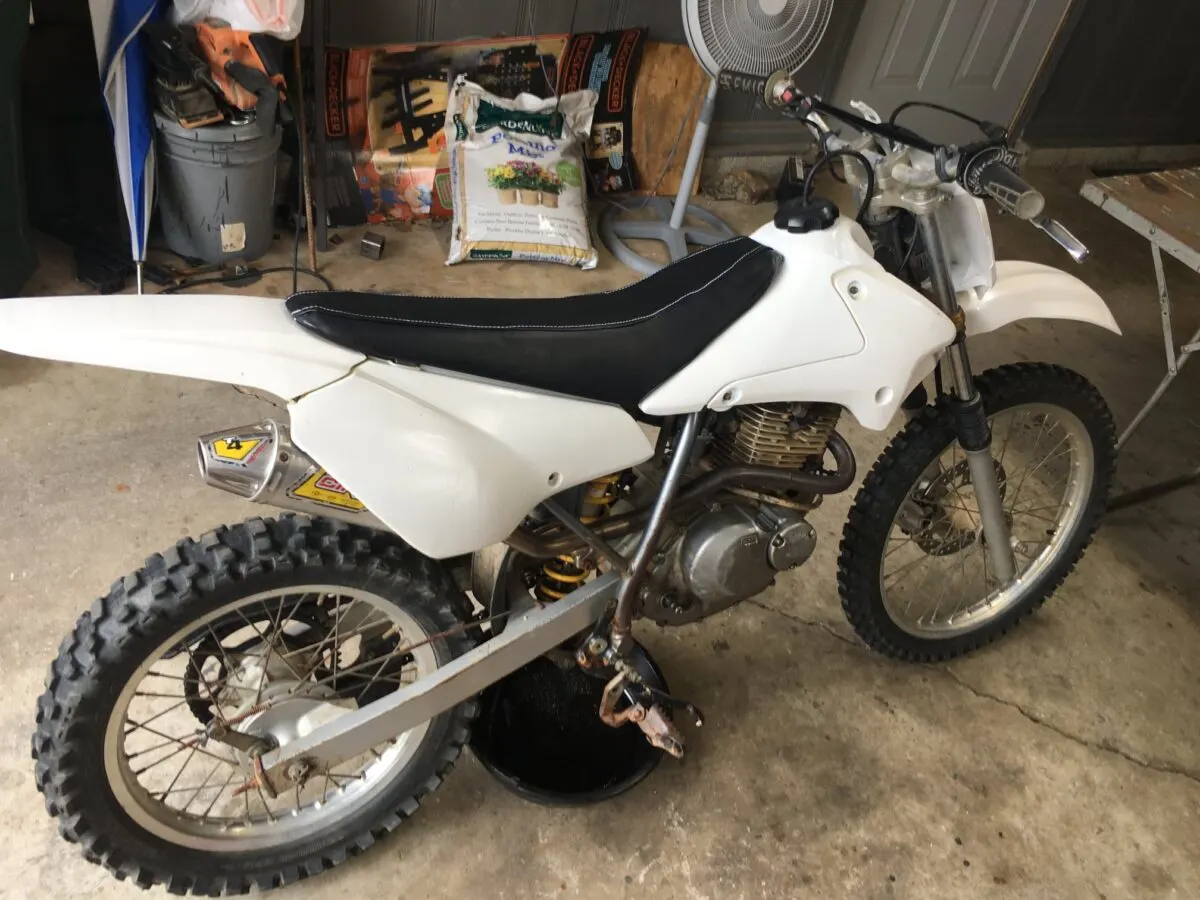
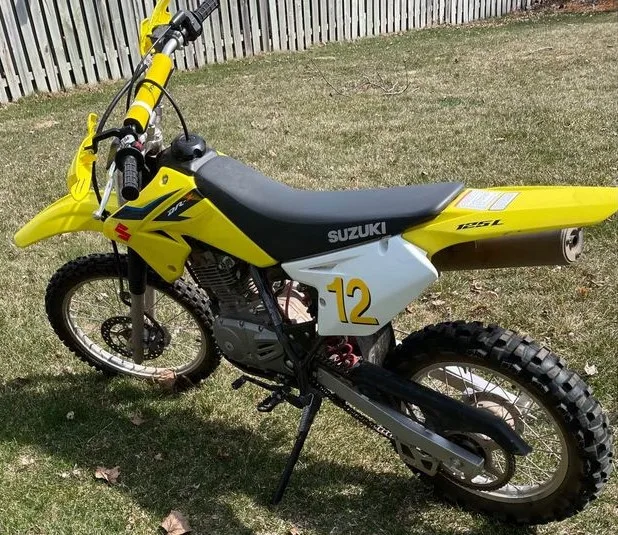
Looking for the best DRZ125 mods for your Suzuki or Kawasaki 125 trail bike but not sure where to start? Whether you want a more comfortable ride or are building a competitive racing machine out of this “little girls bike”, you’re in the right place!
In this article, I’m going to show you what certain mods and upgrades actually do to your DRZ 125 or KLX 125 dirt bike, why you should or shouldn’t modify some parts, and how to build the combination best for your specific needs & budget.
Before you start modifying your dirt bike…
“It’s easy to start throwing parts at your dirt bike or motorcycle to upgrade the performance, and then when you go to ride it, you find that it doesn’t feel or ride the same. That’s because it’s easy to make the mistake of doing too many mods at once or not properly planning which ones work well together.
You see, just upgrading the suspension or tires might give it more performance, but it really depends on where you’re going to be riding and what your preferences are. Most stock bikes already work very well, so if you don’t want to blow out your savings account, choosing the right mods can save you a lot of money while still giving you a better or more comfortable KLX or DRZ 125.
What are your goals for this bike build?
There are a few different directions you can go when it comes to modifying your DRZ 125 or KLX 125. For example, you could upgrade the suspension and power performance if you're an adult who wants a more capable trail bike.
You can also spend a lot more time and money building out the engine and converting the forks and shock to ride more like a mini motocross bike.
Or if you want the best cheap and free DRZ125 mods, there are some easy ways to make it faster, safer, and more comfortable for you or your child to ride.
Airbox/Intake mod
One of the easiest mods is the air box snorkel mod. The stock air box on the DRZ 125 and KLX are fairly restricted, which is good because it keeps out dirt and water better, but it also chokes the engine.
When the air box is opened up, there's more potential to suck more air into the engine, which allows you to make more power. By removing the snorkel/lid on top of the airbox, more air can get in.
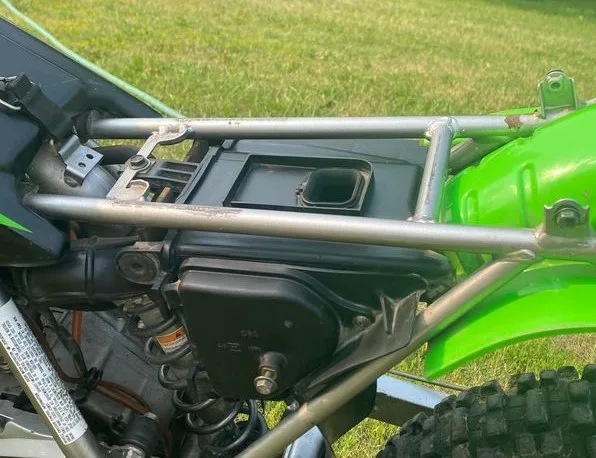
It won't make a huge difference, but it's free and you might get a little better throttle response when tuned properly, which I'll cover shortly. Another way to increase airflow is with some uni filter vents (see price on Amazon).
Air filter backfire screen - remove it?
Many dirt bikes come with a metal screen in the airbox (after the filter) to prevent an engine backfire from exploding into the airbox and starting a fire. This can be removed at your own risk.
The screen restricts airflow, but you probably won’t feel much difference by removing it by itself.
Will you need to re-jet after an air box mod?
It really depends on how it’s tuned before the air box mod. If it’s properly tuned or jetted too lean, then you’ll most likely need to adjust one or multiple jet circuits to get it to start and run well.
Modifying the air box and intake will allow more air in, giving you a leaner air-fuel mixture, which makes it harder to start and bog in colder and dryer climates. The first step to adjusting the jetting is with the fuel screw.
Jetting – more benefits than you think
The stock DRZ 125 (and KLX) is fairly lean from the factory, especially if you uncork and start modifying the intake, exhaust, and engine. If you don’t adjust the carb jets, it will likely be harder to start and run worse, giving you these annoying symptoms:
- Won't start
- Won't idle
- Bogging on acceleration
- Backfiring
- Plug fouling
- etc.
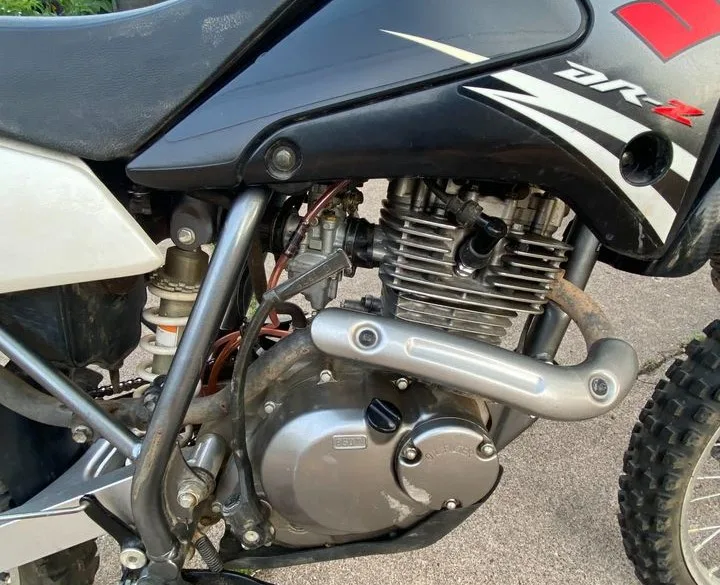
Here's a quick chart comparing the stock vs recommended jetting specs for an uncorked DRZ/KLX 125:
Stock DRZ/KLX 125 jetting (Mikuni VM20 carb):
- Pilot: 17.5
- Main: 102.5
- Needle: Non-adjustable
Recommended jetting for 1000 ft. @ 70F deg (uncorked):
- Pilot: 20
- Fuel screw: 1.5 turns out
- Main: 105
- Needle: TTR125 Needle (Adjustable)
Suspension upgrade - why you might need it
The stock suspension is probably the weakest link on the KLX and DRZ 125 if you’re an adult or aggressive rider. It’s nice if you’re a beginner or casual trail rider that weighs less than 120 lbs, but more than that and you’ll start bottoming out the forks and rear shock.
What happens if you bottom out the suspension?
Bottoming the suspension is when you fully compress the forks and/or rear shock - you’ll feel and usually a “clank” or “thud”. This is not good because you’re a lot more likely to break parts, such as cracking the frame weld, and it can also throw you off the bike if you’re not expecting it to harshly bounce back.
This is why it’s so important to get the proper spring rates based on your weight and riding style. It’s okay to bottom out the suspension every once in a while, but if you’re bottoming several times within 15 minutes of riding, then your DRZ/KLX 125 suspension is way too soft for you.
Fork upgrades - what are your choices?
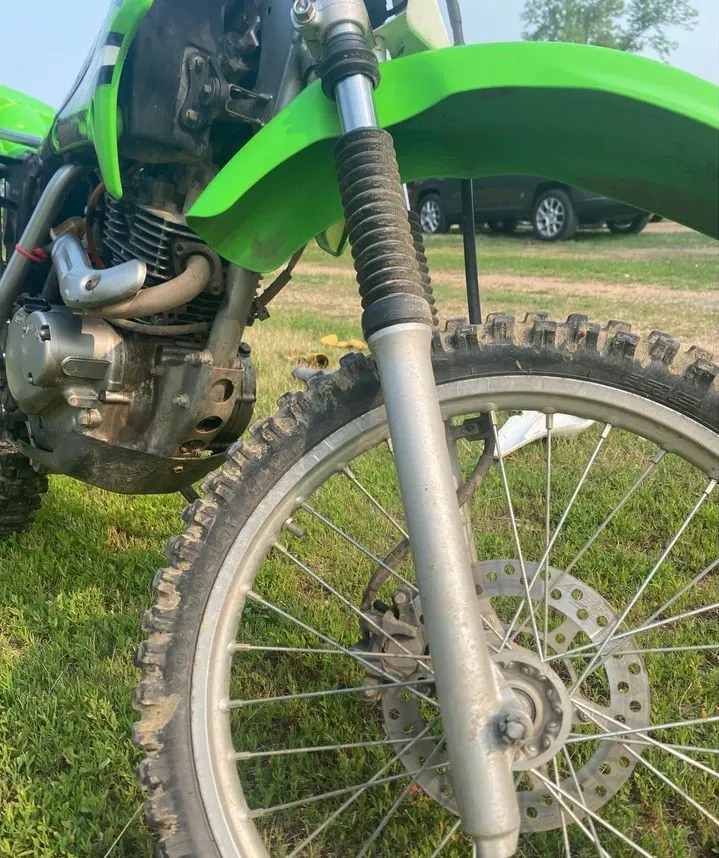
There are several ways to make your DRZ125 or KLX125 front suspension perform much better, whether you’re just a casual trail rider or an aggressive rider or racer. You can do some cheap mods that will make a noticeable difference, or you can spend a lot more time and money converting to forks from a different dirt bike.
These are the best DRZ/KLX 125 fork mods:
Heavy duty springs
If you know you need stiffer forks, then just order some heavy-duty fork springs (check price on Amazon). This alone will hold the front end up higher and help prevent bottoming and diving under heavy braking.
Pro Tip: If you find that using 2 heavy-duty fork springs is too harsh and uncomfortable, you can also try 1 of each spring (1 stiff/1 stock). This will split the difference in spring rates, making it stiffer than stock but not as stiff as having 2 stiff springs - make sense??
Preload spacers
Did the aftermarket fork springs help but you still want a little bit more “hold-up”? If your forks are too low in the stroke before hitting bumps, then you either need stiffer springs or more preload.
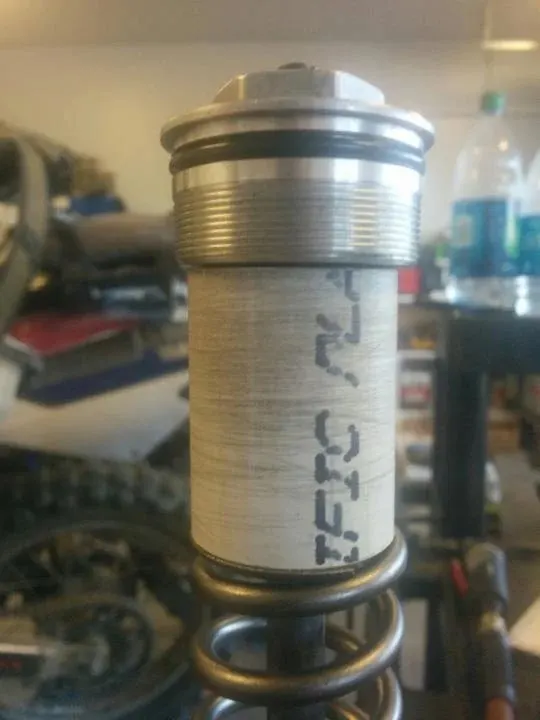
By adding a PVC spacer to the forks above the springs, you increase the preload, essentially making the initial action of the forks stiffer. Start with ½” increments in lengths, and it’s best to use (thicker) Schedule 80 PVC pipe that is just barely smaller than the inside diameter of the forks.
Cheap re-valve
Are the springs stiff enough but you want to slow down the compression and rebound damping on the cheaper? Switching to a heavier-weight fork oil (Check price on Amazon) is a fairly cheap way to slow down (stiffen) the front forks when it comes to the damping (how fast the forks go up and down when hitting bumps & obstacles).
Send to a tuner that knows conventional-style forks
Unline modern USD forks on MX and enduro bikes, the KLX and DRZ125 have very simple conventional style forks that make it a little more challenging to “re-valve” or tune them for better performance. If you plan on keeping your little 125 trail bike for a while or want the most comfort for the least money investment, I recommend sending your forks to Bruce Triplett in North Carolina or a suspension tuner that knows how to properly set up damper-rod style forks based on your weight and riding style.
Bruce is more affordable than you might think and does a great job - he made my stock CRF230F forks work great for the woods and mountains!
Fork swap/conversion - is it worth your time & effort?
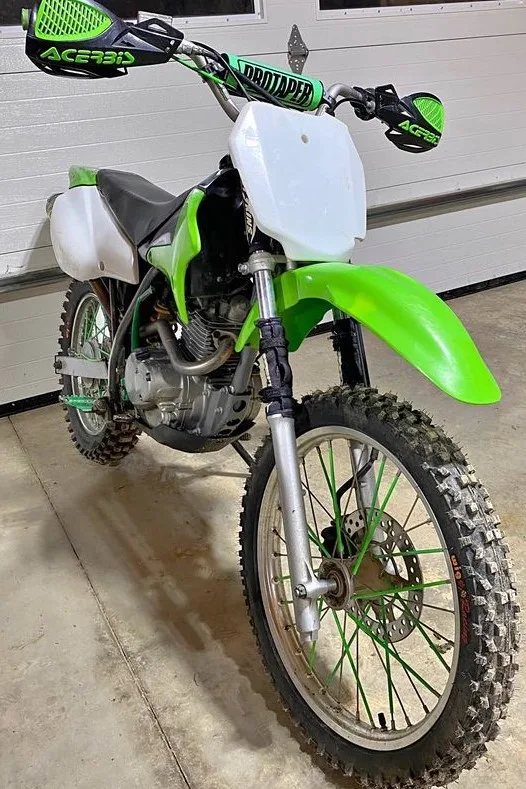
Want even more performance than the stock forks, such as more suspension travel or better bottoming resistance? Upgrading to forks or a front-end from an 80/85cc motocross bike is the way to go if you have a little bigger budget and time to do the fork conversion - some forks require some mods/fabrication to fit and function properly.
RM80 forks
Requires RM 80 forks and triple clamps at the minimum. They’re RSU (conventional) forks that offer more travel and performance, as well as rigidity due to being larger in diameter compared to the stock forks.
They bolt onto the stock DRZ/KLX 125 front end, but they’re about 3.5 inches longer, throwing the geometry off. You can slide the forks up in the clamps slightly (they will run into the bars), otherwise, you can internally shorten the forks or mod/upgrade the rear end to balance out the suspension.
KX85/KX100 forks
Requires KX forks and triple clamps at the minimum. Supposedly the stock axle/nut fit. This will also cause the font end to be high (chopper effect).
You’ll have to lower the forks by raising the in the clamps, internally, or raise the rear shock.
Another source mentions these requirements:
- An RM axle. The diameter is the same as the DRZ's, it's just a little too short
- RM85 front brake disk. For whatever reason, they made a different size
- Longer caliper bolts - the mounting point is the same for the brake caliper, but the RM forks have a thicker mounting surface
Shock upgrades - matching the front forks
If you’re upgrading the forks, then you will want to do the same or similar to the rear shock or else you’ll have a poor handling dirt bike. For example, if the forks are much stiffer but you leave the shock soft, the rear end will sit lower and cause the front end to wash out more easily.
Spring rate
A stiffer shock spring (check price on Amazon) will balance out the suspension if you have stiffer springs in the forks. It’s a fairly inexpensive upgrade that will make a big difference if the stock shock is too soft for you.
Free ride height adjustment
Adjusting the preload can make the rear end a little bit stiffer or softer, but it’s mainly to get the proper ride height. If your DRZ125 rear end is too low, for example, it will feel softer and the front end will slide out more easily because there’s too much weight on the rear.
It’s free to adjust the shock sag/preload with a shock nut wrench (check price on Amazon) or a hammer and punch if you’re careful, but it can make a noticeable difference in your safety and confidence when your suspension is properly balanced for better handling.
To increase the shock preload:
- Loosen the upper shock spring collar nut
- Turn the lower collar nut down (clockwise)
- Tighten the upper locking collar nut when finished
Rear shock upgrade - what’s available?
There aren’t many options for aftermarket rear shocks when it comes to the DRZ125 & KLX125 - they’re not as popular as the TTR125 or CRF125F for upgrading.
Basically, you can either spend a lot of time searching for a used Works Performance rear shock, or try and adapt a shock from an 85cc MX bike, such as the RM85, KX85, or CR85.
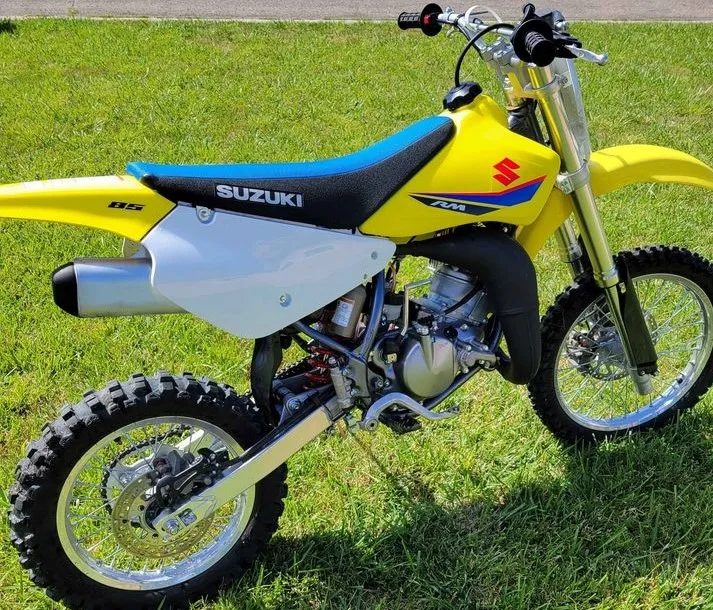
You’ll have to do your own research for the exact details, but here’s what I found out that’s required at the minimum to make these shocks work:
- RM85 shock: The upper mount is too narrow (can be widened), the upper chain roller needs relocation (hits shock body unless there’s room to install it the opposite way), and this raises the rear end about 2”
- KX85/KX100 shock: Same as RM shock
- CR85 shock: No mods required to fit depending on which side the shock reservoir is on, raises the rear end about 2”
Can you lower the seat height?
Maybe you like your 125 trail bike, but it’s just a little too tall for your liking because it’s too easy to fall over when you come to a stop. Unfortunately, I haven’t found a good source for a lowering link kit (Amazon), but you can lower it by at least 1 inch for free.
You just have to raise the forks in the triple clamp and lower the rear shock sag. As long as the front and rear suspension are at a balanced height, it should still handle well - plus you can raise it back up when you build up your confidence using safe techniques.
Gearing - cheap performance upgrade
Although it won’t give you more power, you can have faster acceleration or a higher max speed with a simple gearing change. This is probably the easiest and cheapest way to make your power feel different, but it’s not for everyone if you like the stock gearing.
Better acceleration for off-road
The small wheel model has a 51T rear sprocket (check price on Amazon), but going up to a 57T will give you an ultra-low first gear with quicker acceleration.
However, I wouldn’t recommend this mod unless you really want extremely close gearing - first gear will be so low that it’s virtually unusable unless you’re at a crawling speed.
Higher top speed for cruising
The stock front countershaft sprocket is a 14T on both models, so going up to a 15T front sprocket (check price on Amazon) will give you a slightly higher top speed and spread out the gearing so you don’t have to shift as much.
This is a good mod if you have upgraded the engine because the extra torque can handle wider/longer gearing.
Best DRZ125 Exhaust upgrade
The stock exhaust is great if you need a quiet dirt bike so that you don’t annoy neighbors, but if sound isn’t an issue, then you can unlock some horsepower and throttle response by modifying the stock exhaust or upgrading to an aftermarket head pipe & muffler.
These are the best DRZ and KLX 125 exhaust mods based on your budget:
Free exhaust mod
The easiest way to make more noise and potentially get a little more throttle response is by removing the baffle/end cap from your stock muffler. It’s the 3 bolts on the end, but it may cause your KLX/DRZ to run worse.
Since it’s allowing more exhaust to flow, this can make it run leaner. If you’re hearing backfiring on deceleration or it’s harder to start when the engine is cold, you most likely have to tune the fuel screw.
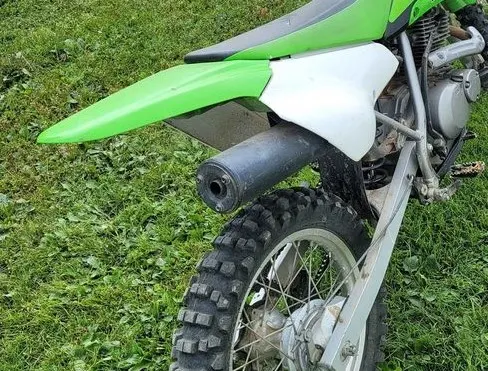
Cheap exhaust mod
The next best upgrade is by removing the stock end cap, but replacing it with a cheap billet tip (check price on Amazon). It won’t sound as raspy, but you’ll still get improved flow for better throttle response while looking much better than no cap at all.
It will also be louder than stock, so I don’t recommend these exhaust mods if you live in an area where noise is a concern and could get you or the riding place shut down from complaining neighbors.
Best slip-on exhaust
If you can afford an aftermarket exhaust upgrade, the next best thing is to install an FMF powercore 4 slip-on (check price on Amazon). It’s a mid-pipe and muffler that replaces the stock unit while still being able to use the stock head pipe.
It’s slightly cheaper than a complete exhaust upgrade but you get the benefits of a quality sounding exhaust that weighs less and gives you a little better throttle response.
Best complete exhaust upgrade
If you want the most power, then installing a full pipe and muffler combo, such as the Pro Circuit T4 system (check price on Motosport) is the best choice - and it doesn’t cost much more than the FMF slip-on for this bike!
It’s lighter, looks cooler, sounds better, and will give you better power than the stock exhaust system when tuned properly. It also comes with a removable spark arrestor that makes it legal to ride on state trails.
Do you have to re-jet the carb after installing an aftermarket exhaust?
For best results, you will most likely have to tune the carb with an aftermarket pipe or muffler, although it might not require much. For example, you might just need to take a few minutes to tweak the fuel screw.
Otherwise, you can refer to the recommended jetting specs earlier in this article for a good starting point if your DRZ or KLX125 is close to stock.
Engine upgrades
Once you have a suspension setup that can handle your weight and the intake and exhaust are maxed out, upgrading engine parts is the best way to get a lot more power out of your DRZ125 or KLX.
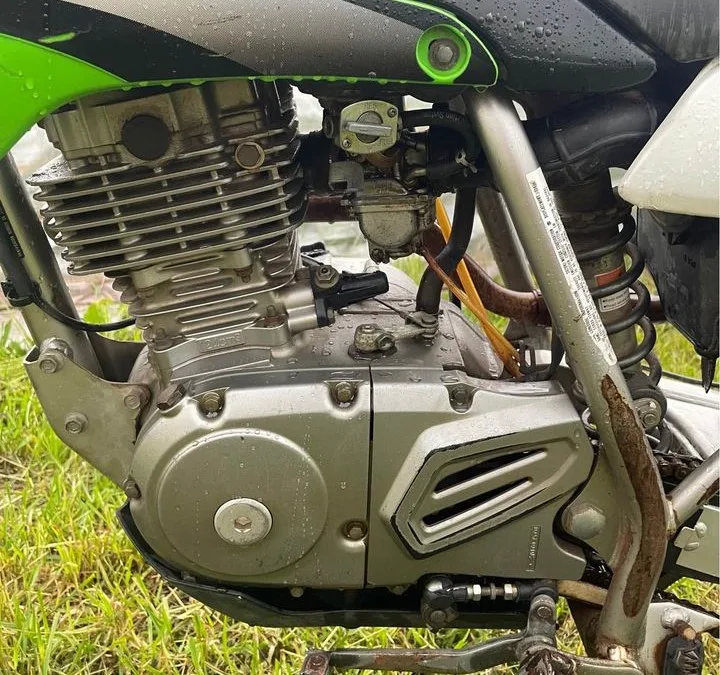
One upgrade may not help much, and multiple mods may make your dirt bike harder to ride if you are properly combining mods to work together.
These are the best engine performance mods:
Higher compression
These air-cooled engines have a fairly low compression ratio to begin with so they can handle lower-grade fuel, which means it’s easy to add compression with a different piston. Adding compression basically makes your engine pump out more power because it can compress and ignite a larger mixture of fuel and gas.
A Wiseco high compression piston kit (check price on Amazon) is a good way to give your 125cc dirt bike a little more “oomph!” Whether you’re just wanting to upgrade or your OEM piston and rings are worn and causing your engine to smoke, this is a nice and reliable mod when installed properly.
Can you still run pump gas with high compression?
Yes, as long as you’re running fresh 91 or 93-octane pump gas (no ethanol is best), you shouldn’t have any problems with detonation, which is more common on high-compression engines.
This piston kit claims to have an 11:1 compression ratio, which is generally the highest you’d want to go on an air-cooled engine before needing to run at least a mixture of racing fuel to raise the octane rating.
Pro Tip: Since this Wiseco piston is “forged” vs the stock “cast” material, you need to take a little bit longer to warm it up because the forged aluminum requires slightly longer to “expand”. An extra 1-2 minutes should be enough unless it’s below 40F degrees outside.
Big bore kit
The next step up is adding displacement - making your dirt bike engine a bigger “CC”. You can either choose the cheaper piston kit option (view price on Amazon), or the full Athena brand big bore kit (check price on Amazon).
The 58mm piston kit only gives you an extra 5cc, but it also adds compression for a little more torque. It’s a good option if:
- You need a new piston & rings
- You’re on a budget
- You have access or a machinist friend that can properly bore out your stock cylinder
The Athena big bore kit punches your DRZ/KLX engine out to 152cc, which is close to a 20% increase is displacement size. It’s a bolt-on kit that comes with the piston, cylinder, and everything you need to rebuild the top end - if you can replace the stock piston, you can install this kit.
Horsepower difference with a DRZ125 big bore - what to expect
If the intake and exhaust are still stock, then upgrading to a big bore kit won’t be a huge improvement, but you will notice more low-end and midrange torque. To get a better overall horsepower increase, you’ll want to get a better flowing exhaust, open up the air box, and properly tune the jetting so that it’s not rich or lean.
190cc big bore kit option?!
Want to go all out for an ultimate DRZ125 build? XR100.com offers a 190 big bore kit (188cc) if you have a thicker wallet and want to destroy your 125 or 150cc trail bike friends in a horsepower and acceleration battle.
It’s not cheap, but you get what you pay for. They have other options for a carb and exhaust upgrade that can get you up to 20 horsepower - That’s about 3 times more than a stock DRZ125!
Camshaft
The next restriction is the stock cam. It doesn’t open the intake and exhaust valve enough to reach its full potential if you have a bigger engine, exhaust, and better-flowing intake.
By upgrading to a properly matched camshaft, you can see a nice boost in performance. Since they’re not a popular aftermarket part for the Kawasaki and Suzuki 125 4-stroke engine, the only place I’ve found them is from xr100.com.
Head work
The last big choking point is the cylinder head. When the intake and exhaust ports are left stock, the bigger intake, engine, and exhaust still can’t flow and make as much power as they could.
However, just making the ports bigger isn’t always best and it can actually kill your power curve. That’s why it’s important to find a reputable shop that knows these air-cooled engines and what they need based on YOUR specific engine needs.
Putting all the mods together
When you put the right mods together, you will have a faster, safer, and better-performing dirt bike, but if you just choose random upgrades for your DRZ125 or KLX125, it might be harder to ride and run worse.
Here’s a simple list of the best DRZ/KLX 125 mods based on your specific needs:
Best DRZ/KLX 125 upgrades for trail riding:
- Air box mod
- Jetting
- Fork upgrade for your weight
- Shock upgrade for your weight
- Upgraded exhaust with spark arrestor
Best DRZ/KLX 125 upgrades for racing:
- Air box mod
- Carb upgrade/Jetting
- Taller gearing
- Stiffer forks
- Stiffer shock
- Big bore kit
- Racing camshaft
- Head work
- High flowing exhaust
- Lightened flywheel
The best mod to make you a better rider
You can do all of these mods, but they won’t make as much difference as this last one can. Too many people try and learn how to become better riders on their own, but this leads to forming bad habits that cause you to use way too much energy and fall more often.
I want to show you how to form positive riding techniques so that you stay safe and have more fun - click here to get this techniques guide today for FREE.

