Want to learn how to easily adjust your dirt bike suspension to your weight so that you have more comfort to ride faster and safer?
In this article, I'll show you what it takes to adjust your suspension, why it's so important for your confidence, and how to do it step-by-step.
Springs for your weight
The first step is to make sure the shock and fork springs are sprung for your weight. Simply put, most full size dirt bikes are built for 150-180lb people, so I'd you're above or below that weight, then you'll probably need different springs to get the most comfort and performance, even if it's just a simple trail bike.

Other factors that determine your spring rates
While your weight (with gear on and a full gas tank) will give you a relatively accurate estimate of spring rate, your riding type, and skill level are also key factors.
If you're a beginner, you may not be able to tell very easily if the springs are too soft or too stiff for your weight.
How to tell if you have the right springs in your dirt bike suspension:
- You can get proper static and rider sag according to your OEM service manual
- You use most of the suspension travel in your shock and forks
- You're not constantly bottoming out the forks or shock
- The suspension feels balanced front to back - they compress and rebound evenly
Adjusting ride height for your weight
Once you know you have the right shock and fork springs, you need to adjust the ride height. The ride height is simply a term used to describe how high your bike sits when you sit on your bike, but it requires a certain process to get an accurate measurement.
Why ride height so important for your confidence
Most people just ride their dirt bike and never spend any time tuning the suspension, which is very unfortunate. Whether it's because you are afraid of messing something up or you don't have the knowledge to get started, you're missing out on performance and comfort.
Setting your ride height isn't that difficult, but it can make a big difference in your riding. If you've never done it before, then how can you know how much it will help?
When you properly adjust the ride height on your dirt bike, your suspension will be balanced - the forks and shock will work together and the bike will handle better because the weight isn't always shifted more to the front or to the rear.

For example, when your ride height is too low, your rear end always sits lower. This makes it harder to turn and corner, especially at low speed. You'll also have less front-end traction, which is more likely to cause your front tire to wash out and cause a crash - not very confidence-inspiring!
What is ride height?
Ride height is also referred to as "sag". It's the measured amount of sag or travel that your rear end compresses or drops down when you sit on the seat.
The key to setting your sag is being consistent with how you do each step and recording the amount so that you know how each adjustment affects how your bike handles.
How to set your dirt bike ride height/rider sag
The easiest way to do anything, whether it's easy or hard, is to take it one step at a time. This helps me whenever I try to do something new to me on a dirt bike, and this definitely goes for adjusting your suspension! It's easiest to have a second person do one of the measurements to set your sag.
To set your dirt bike sag/ride height, follow these steps:
- Set your dirt bike on a stand so that the rear wheel is off the ground and fully extended
- Measure a point on the swingarm up to the rear fender - I like to use the rear axle and the straightest line up to the fender
- It's important to use these exact same measurement points every time you check or set your sag/ride height to get an accurate number and test
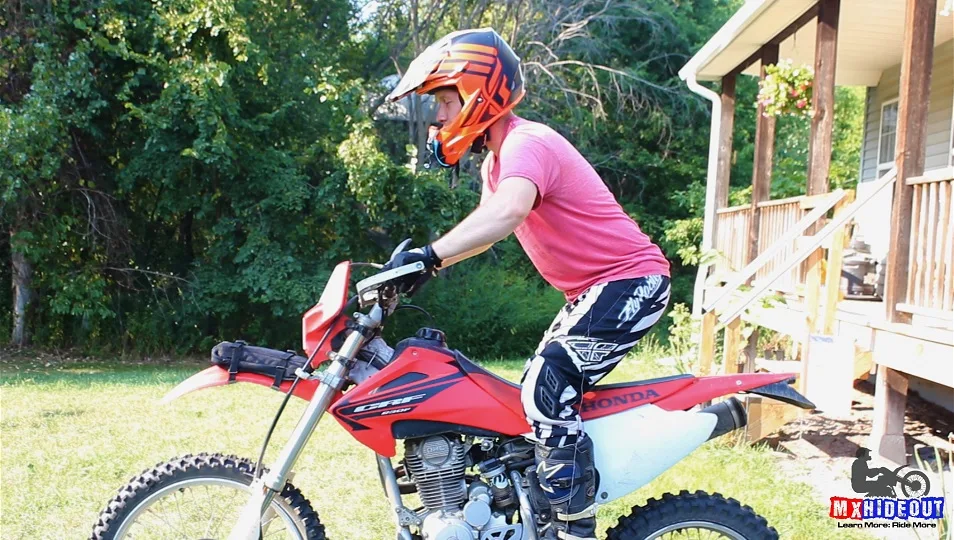
- With all your riding gear on, sit in the middle of your seat like you would while riding
- Have your helper measure that exact same length from swingarm/axle to fender
- Subtract the first number from the second number to get your rider sag
- If you need more or less sag, loosen the top shock collar ring and then loosen or tighten the lower ring
What should your dirt bike sag be set to?
It's always best to refer to your OEM service manual for sag/ride height specs, but most full size dirt bikes work well with the range of 95-110mm of rider sag. This is roughly equal to ⅓ of the suspension travel when you sit on your bike.
Your sag number is more of a reference number for tuning than an exact science. You need to haven't within a specific range, but the exact number can vary based on your personal preference for how your dirt bike handles.
Suspension too stiff - How do you soften dirt bike suspension?
Whether your rear shock or front forks are too stiff, there are ways to easily make them softer. Following some of the same steps as before, you need to make sure you have the right springs in them and then get them balanced. After that, then you can work on the smaller things to get the most comfort, as seen below.
You can make your dirt bike suspension softer by:
- Replacing the shock and fork springs with a softer spring rate
- Decreasing the preload on the rear shock and front forks
- Opening up the compression and rebound clickers (if adjustable)
- Use lighter weight fork or shock fluid
- Lowering the fork oil height in the forks
How do you stiffen dirt bike suspension for heavy riders?
Whether you're a heavier guy or you're just out riding what your current suspension can handle, there are similar things to make it stiffer. When it's too soft, it's going to sag too much while riding and bottom too often.
This actually causes a harsh and dangerous ride. It will buck you around and can break parts more easily if you're constantly bottoming out.
You can stiffer your dirt bike suspension by:
- Use stiffer shock and fork springs
- Increase suspension preload
- Adjusting the compression & rebound clickers
- Use heavier weight fork oil (Amazon) or shock fluid
- Raising the fuel oil height in the forks
How can you make your dirt bike suspension better?
Making your dirt bike suspension better is more than just making it stiffer or softer for your weight and riding style. It's also something that doesn't come naturally, but by being intentional and paying attention to what your bike is doing when you make a change will really help you understand how to make your dirt bike feel and work better - and on any motorcycle you ride!
By working on these things you can make your dirt bike suspension better without paying a professional:
- Use correct spring rates
- Get the suspension balanced
- Test and tune the suspension clickers
- Learn how to properly ride
Rear shock adjustment
There are several different shock adjustments that you can do on your dirt bike, depending on which type of rear shock you have. By spending some time learning about and tuning your shock, you can feel big improvements in how your bike rides, which can greatly improve your confidence.

Your dirt bike rear shock can be adjusted by:
- Changing the spring to a heavy duty or lighter dirt spring rate
- Adjust the preload to change your sag
- Turning the low speed compression clicker
- Turning the high speed compression clicker
- Turning the rebound clicker
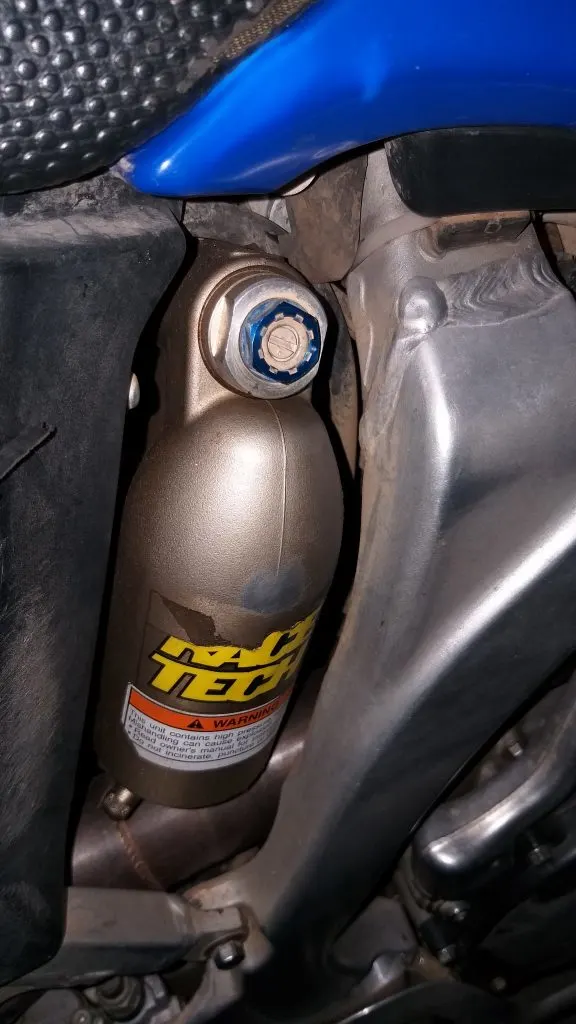
- Adjusting the pressure of nitrogen charge in the bladder
- Internal valving change
- Using different shock oil weight
Dirt bike suspension for woods riding
Riding your dirt bike in the woods requires a very different suspension set-up than riding on a motocross track. Riding slow and technical trails is also very different from riding on high speed desert trails.
Some key factors that make a good suspension setup for woods riding are:
- Balanced suspension
- Softer low and high speed compression
- Quicker rebound
- Softer internal valving
How to ride off-road with more control
Getting your dirt bike suspension setup for your weight is absolutely necessary if you want the most control of your dirt bike, but that's just one step.
You also need to have control of your clutch, throttle, balance, and more to ride with confidence. I put together a short basic techniques guide that shows you how, and I want to give it to you for free. Click or tap here to download it.

