
Need to replace the clutch on your 2 stroke dirt bike? In this article we’ll go over each step on how to remove, replace, and install the clutch on a Honda CR125 2 stroke dirt bike.
Why do I need to change the clutch?
If you want to ride or race dirt bikes for the rest of you life, there’s some things that you need to learn how to do and fix on them if you want to save time and money.
Replacing the clutch should be one of them, and it’s bound to happen if you’re racing or putting a lot of hours on your bike throughout the riding season. Don’t worry, it’s actually a pretty easy job.
How to make changing the clutch easier and stress-free
If you’re scared to work your motocross bike, I strongly recommend getting an OEM service manual for your bike if you don’t have one already.
The factory manual will have pretty much everything you need to know for maintaining or repairing your dirt bike. There’s dozens of diagrams, specs, maintenance intervals, tips on adjusting suspension, and much more.


Prep work makes the real work easy
First thing is to start out with a clean bike and work area. If the bike is not clean, you run a much higher risk of getting dirt or foreign objects inside the clutch/engine, so at least wash that part of your dirt bike.
Having a cluttered and filthy shop area is annoying, and can be dangerous if it’s hard to walk. Make enough room to comfortably work on the bike with clean parts and tools.
Clutch cover and basket removal
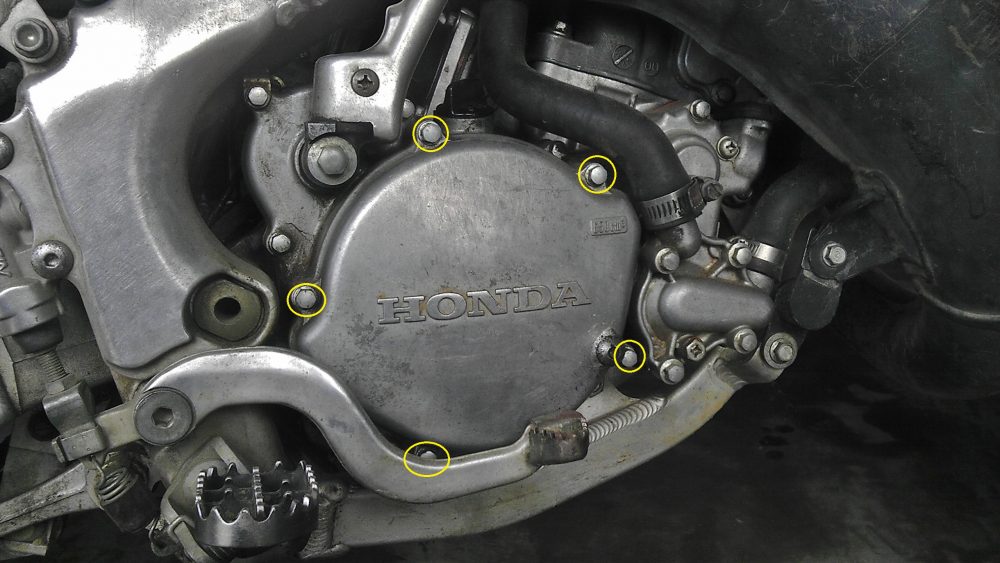
Once you’re all set up and have the proper tools, it’s time to take the clutch off the bike. The clutch cover is on the right side of the engine, and most covers have about 5 bolts holding it on (This bike is an ’01 Honda CR125).
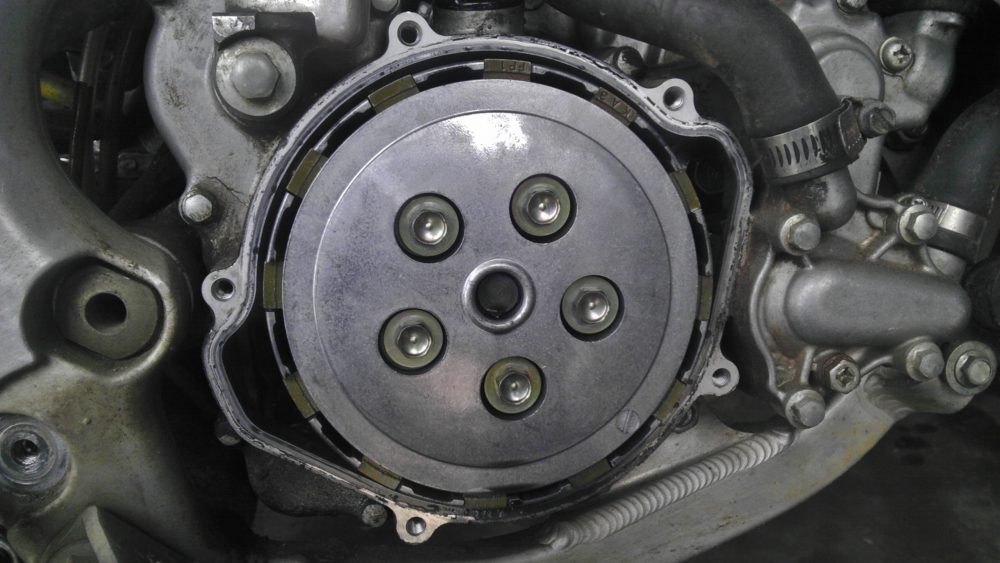
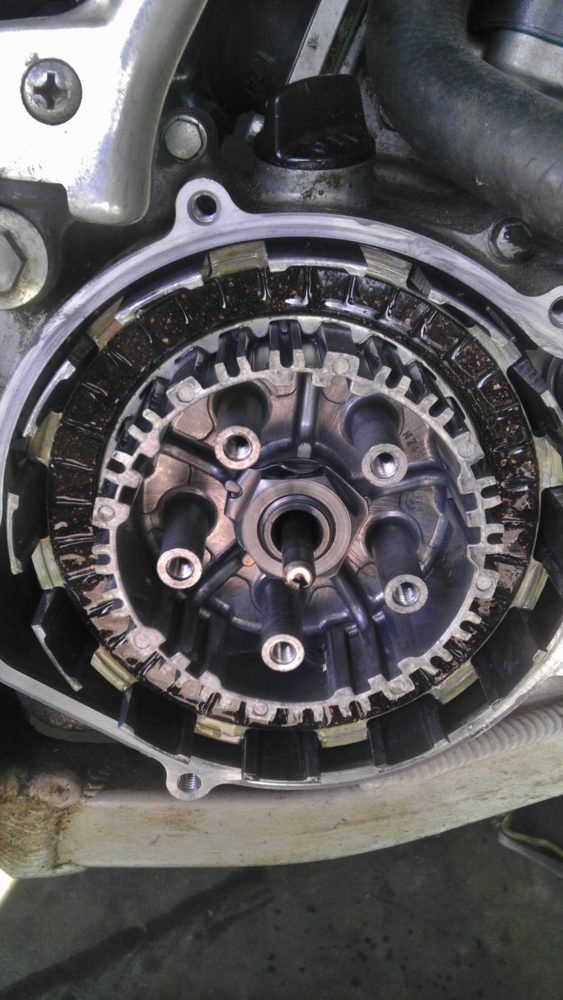
After you get the cover off, you’ll be able to see the basket/plates. There’s five more bolts holding them together.
This is where you may need a special tool to hold the clutch to prevent it from spinning while loosening the bolts. If you don’t have one, a cordless impact can be very handy to get it off, although you’ll want something to properly torque it back down.
Can I re-use some parts?
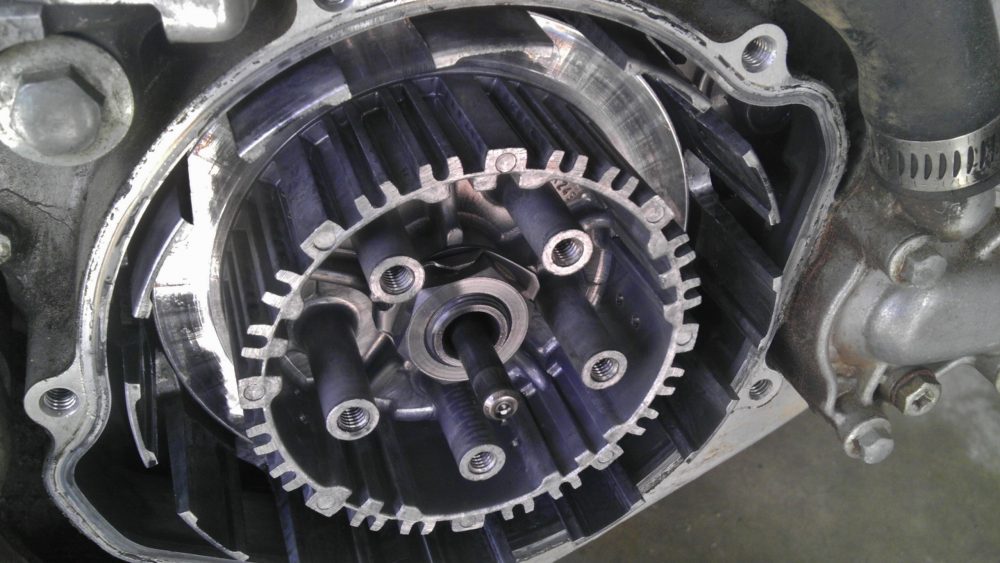
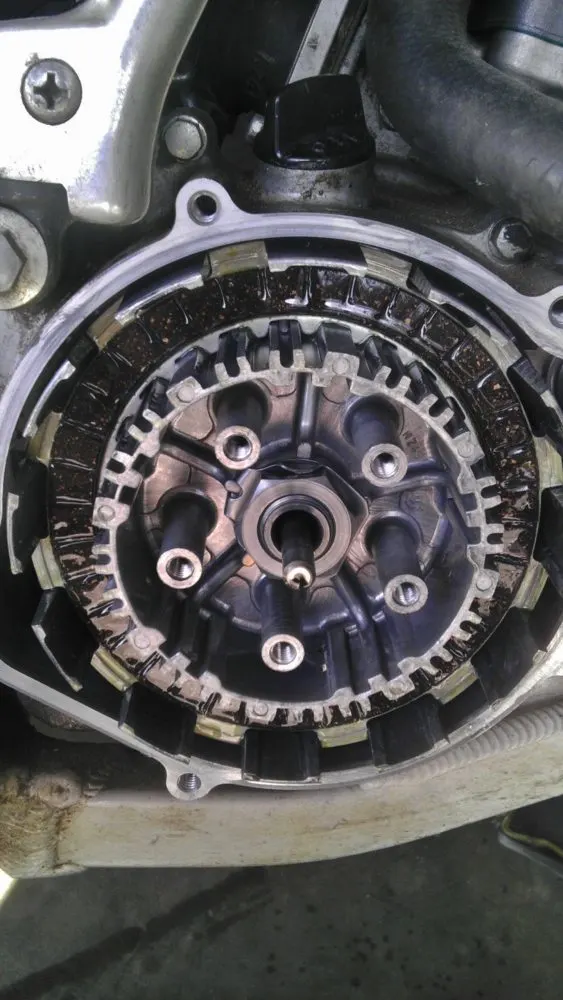
All of the disks and plates will come out with the pressure plate. This is when you need to check the basket for wear/notching.
It will be pretty clear if there’s notches from the disks. This basket does not have notching or appear to be broken, so it can stay right where it’s at!
Spring measurement
Next we can measure the springs and plates to see what’s in spec. Refer to your OEM manufacture’s manual for minimum length on the clutch springs and minimum thickness of the metal plates.
The minimum length of each spring for the CR125 is 35.2mm (1.386″). I measured mine with a dial caliper and it read about 1.430″ (36.2mm), so they’re still within spec.

Metal plate measurement
Next you can measure the metal plates. If they’re still in spec, feel free to use them as long as they don’t show signs of overheating (discoloration).


I just bought a complete kit for this bike, so I’m putting in all new plates and disks. Sometimes you can just get away with replacing the fibers/friction plates since they usually wear out faster.
Drenched in oil
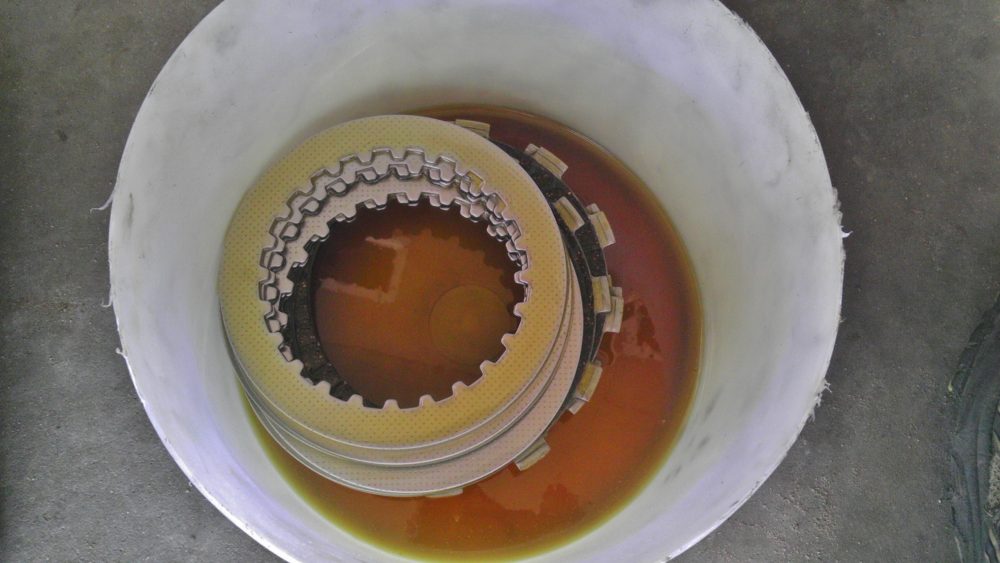
Most clutch plates you will have to soak in oil prior to putting them back on the bike. If you start and run the bike with them dry, you’ll greatly increase your chances of breaking or damaging the clutch.
I just take bucket, pour a little engine oil in, and one-by-one place each plate and disk in, swirling the oil around so it covers all of them.
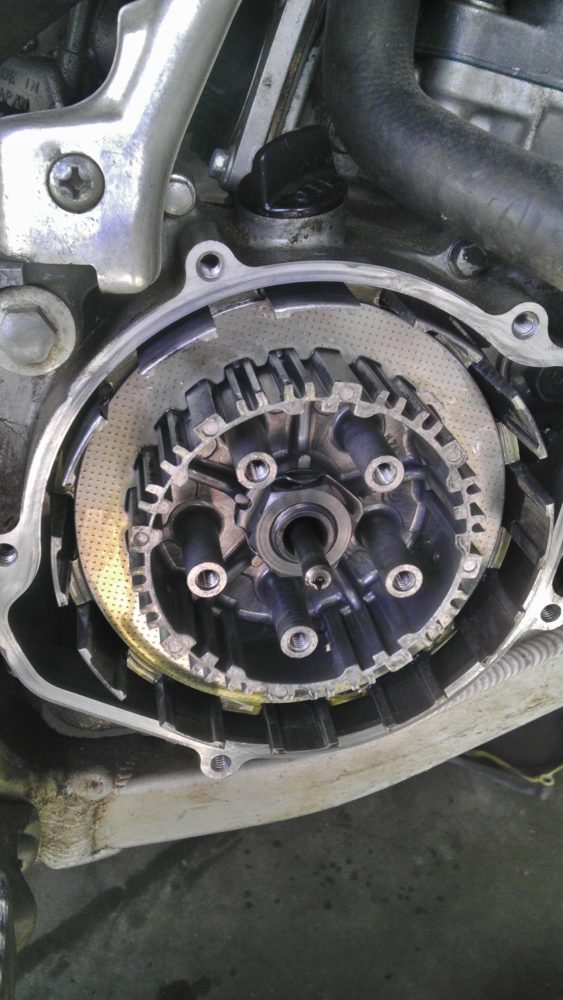
Installing the new clutch
Now you’re ready to put them back in. You’ll start with a friction plate, and alternate until they’re all in. There’s one more friction plate than metal disk, so you’ll start and end with one.
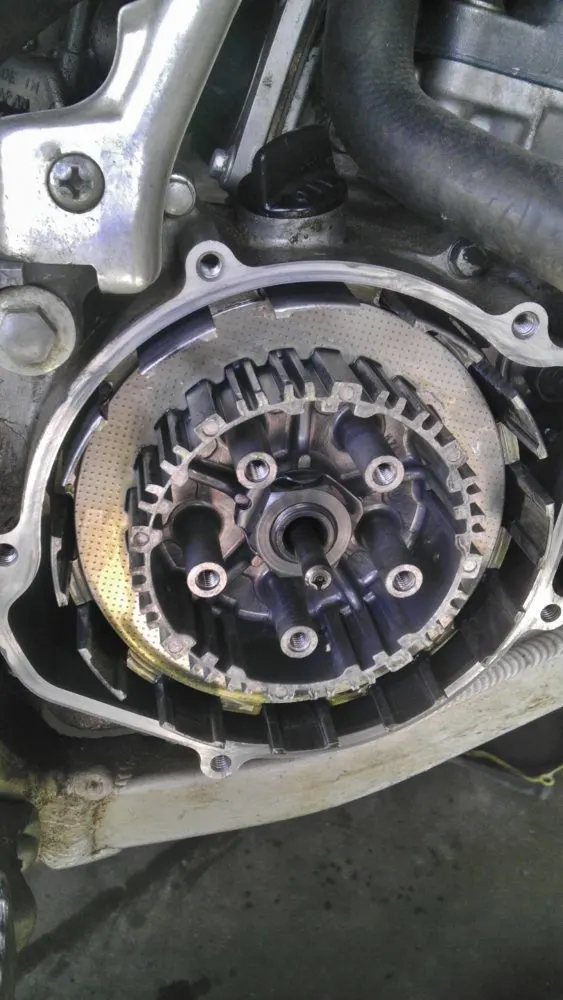
After the plates and disks, it’s time to put the pressure plate and springs in. Now you’ll need something to hold the clutch assembly again so you can torque down the bolts. Again, check your service manual for proper torque specs. This CR125 requires 7 ft. lbs. for the pressure plate bolts.
After everything is properly torque’d
All that’s left is to put the cover back on and fill ‘er back up with oil! Before starting the bike, pull in the clutch a few times and make sure everything feels right, like it’s disengaging and engaging.
On the first start, warm the bike up properly by letting it idle for at least a couple minutes. It’s not unusual for the clutch to drag at first; it just needs to be broken in.
Once the bike is warm, ride the bike around for a few minutes to make sure everything is still functioning. After that, you’re good to go! I recommend changing the oil after a few hours of riding if not sooner to get rid of any shavings from the new engine parts.
Click Here To Buy Your Clutch Kit from Amazon!