Need to clean the carburetor on your dirt bike so that it starts easily and runs smoothly? How do you know when to clean it?
A dirty carb can cause a lot of problems, such as not starting and an unreliable throttle response when you try to accelerate. There are quite a few ways to clean a carb, but some ways can cause more harm than good.
In this article and video, you're going to learn how to simply and safely clean any dirt bike carb. Cleaning the hard to reach passages can be the difference between a poor and a well running bike.
It may not even start if just one jet passage has a little bit of crud stuck in it.

How Do You Know If Your Carburetor Needs Cleaning?
Does your dirt bike have any problematic symptoms? There are quite a few signs when the carb on your dirt bike is dirty.
Most Common Symptoms of A Dirty Bike Carb:
- Bike won’t start after sitting
- Hard to start
- Won’t stay running/idle
- Bogs under acceleration
- Low on power
- Backfiring
- It floods over easily
- Overheating
- Poor gas mileage
Why Do I Need To Clean The Carb?
As mentioned above, there’s a lot of symptoms that can result from riding your dirt bike with a dirty carb. Having a clean carb will make it easier to start, run clean without bogging (if it’s jetted properly), and have the most power and fuel mileage.
A dirty carb often results in a lean condition. A lean air/fuel mixture is problematic for the engine. Not only does it run poorly, but a lean mixture will eventually cause it to overheat and can burn down a piston if it gets too hot.
How Much Does It Cost To Clean A Dirt Bike Carb?
Depending on what bike and carb you have, a carb clean will cost you around 50-100 bucks. It’s on the higher end if the shop you give it to has to remove the carb from the bike. It's cheaper if you remove the carb and hand it to them.
I’m going to tell you how I have personally cleaned many different carburetors to get bikes running like new again without fail.
And the best part is, I do it for about $100 (check price on Amazon).
The cleaning solution (check price on Amazon) lasted a long time before I needed to buy another jug, which was less than 20 bucks.
Can You Use WD40 To Clean A Carb?
Normal WD40 is not meant to clean gummed-up gas and sediment in a carb. With that said, WD-40 (check price on Amazon) now has a carb and throttle body cleaner spray. Does it work? I have personally not used it, but I wouldn’t doubt it can work on some carburetors.
The problem is that it can’t get into all of the deep and hidden passages in a dirt bike carb. You can let the carb soak in the solution, but that leads to another problem. Solvents kill dirt bike carburetors.
How About Carb Cleaner Spray?
Carburetor cleaner sprays are typically solvents. Solvents are strong, and while they can do a good job of cleaning out old gas, they will eventually damage the carb.
It’s not the aluminum body that you need to worry about; it’s the rubber gaskets. Your dirt bike carb might have a rubber o-ring that seals the bowl to the carb body. Sometimes it’s a paper gasket.
Why solvent will DESTROY your dirt bike carb
The worst part is that the carb body actually has a rubber o-ring that seals off passages that you can’t even see. If the solvent gets in there and sits, it will start eating away at the rubber. Once that rubber stops sealing the internal passages, you’ve got major problems that jetting changes won’t fix.
You can clean the carb a hundred times and try every jet available. But if that internal seal is melted away, your bike isn’t going to run right.
How Do You Properly Clean A Dirt Bike Carburetor?
The first thing you have to do to properly clean your dirt bike carb is remove it from the bike. Yes, I know it can be a pain, especially if you have a 4 stroke. Do it once and it's a lot easier the next time on any other bike.
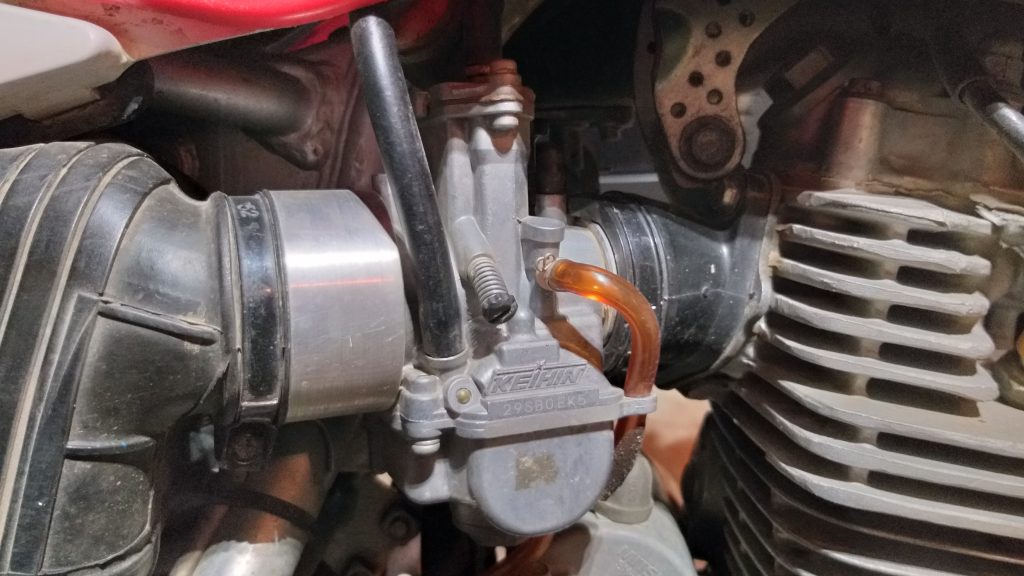

How to easily remove the carb from your dirt bike
Simply loosen the carb clamps that connect it to the air box and intake manifold. Now you can either rotate the carb or pull it out of the boots to remove the top cap. Some caps just twist off, others have a couple of small bolts holding it on.
The slide and needle will be hanging on the cap. Pull the spring back and push the throttle cable off of the slide. Now place the slide and needle with its clip in a safe spot so you can clean it in a few minutes.
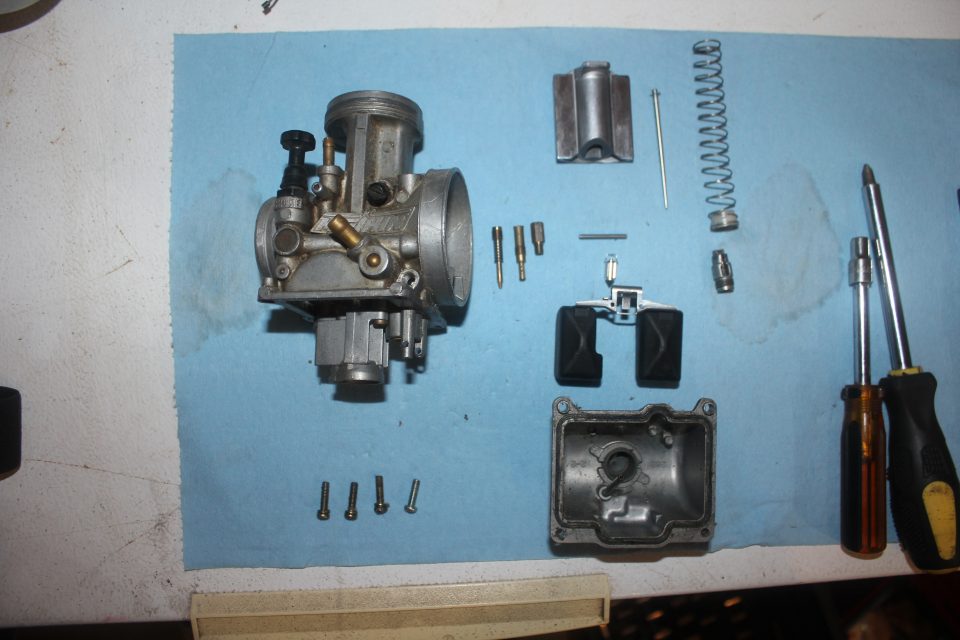
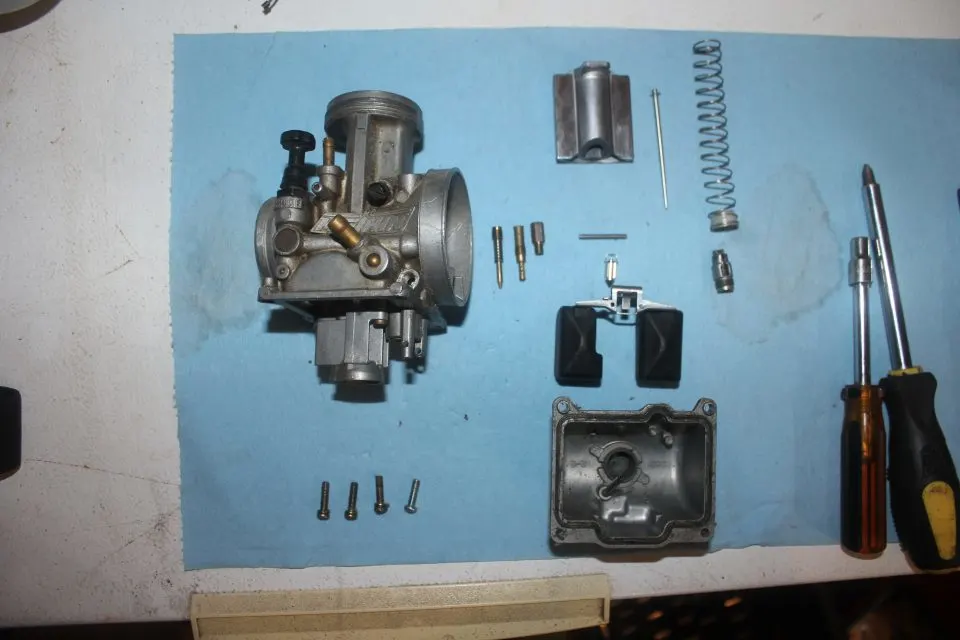
Tear Down The Carb
Before I'm ready to clean a carb, I try and remove every little piece I can so there's a better chance of it getting cleaned the first time.
Here's how I disassemble a dirt bike carb for cleaning:
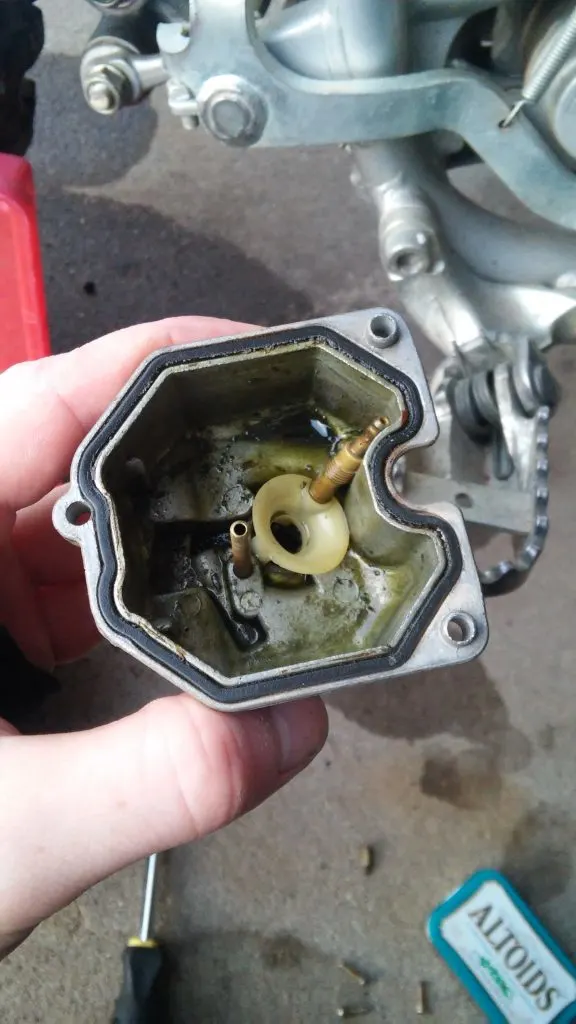
- First, take the float bowl off.
- Then, carefully remove the float pin and float with the needle.
- Next you can remove the jets. A small flat blade screwdriver for the pilot jet and socket or wrench for the main jet.
- If there's any other internal parts, such as the choke assembly or accelerator pump, remove those.
The Magical Carb Cleaning Solution
Now it's time to use my favorite solution. I bought a simple ultrasonic cleaner (check price on Amazon) and a jug of simple green industrial cleaner (view on Amazon). Both of these cost about the same as paying for 1 or 2 carb cleans, but you get to keep them for as many as you want!
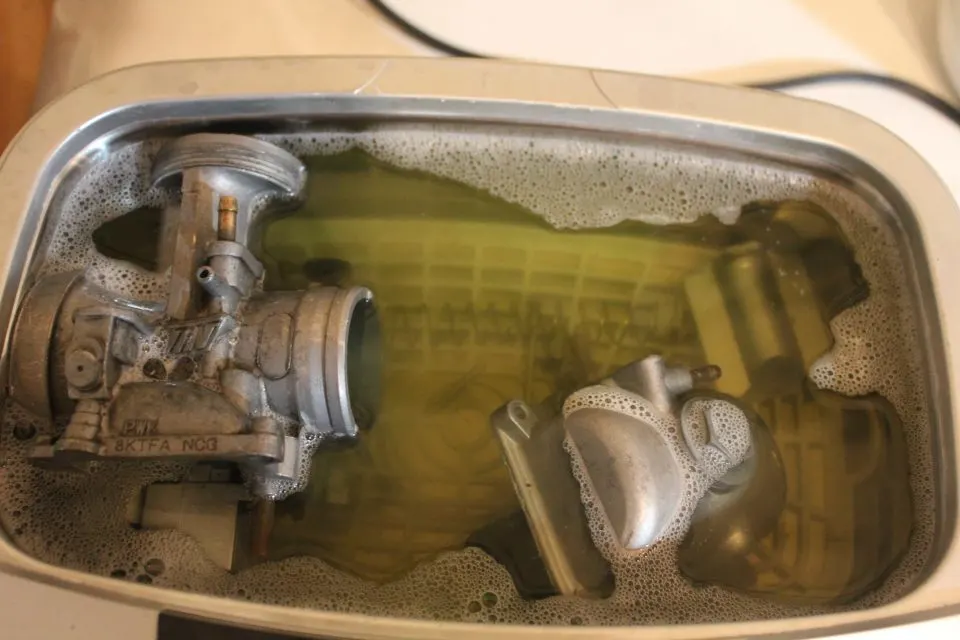
I simply add a few ounces of simple green, then fill the rest with warm to hot water. I then set the carb and all of its contents in the cleaner. I turn it on for a set time, which is usually 5 minutes, and then let it run.

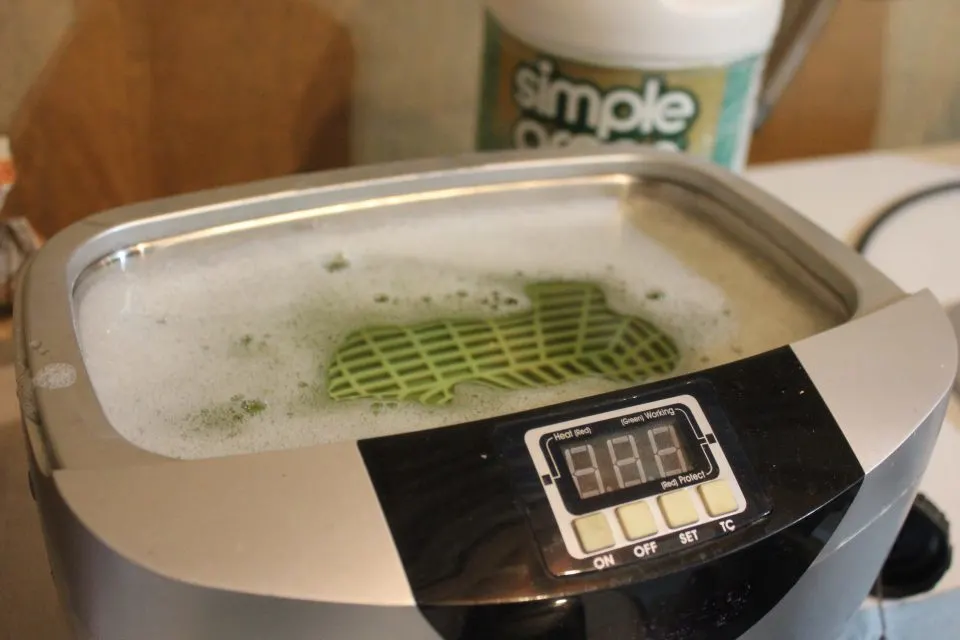
Depending on how dirty your carb is, you may want to run it a couple of times. You can see the dirt and gunk literally vibrate off of the carb as it's running.
Why The Ultrasonic Cleaner Works So Well
Simply, an ultrasonic cleaner (view on Amazon) uses high-frequency sound waves to vibrate loose the gas and dirt stuck in the carb. All of those deep, hidden passages that are next to impossible to reach and clean with a wire or carb clean are not a problem.
As long as the carb is submersed, it just takes a little bit of time to "shake" the foreign substances off. The simple green mixed in with the water does a much better and quicker job, especially when heated up.

Simple green is a strong solution, but it's easy on rubber, so you don't have to worry about o-rings or gaskets melting away from it.
Now Comes The Air Gun
Once the carb has been cleaned in the ultrasonic cleaner, you can pull it out. Some of the old gas or varnish may still be sitting in the carb even though it's loose. Use compressed air to blow out all of the passages. Remember to think safe and use safety glasses so your eyes don't get sprayed.
Is It Ready To Go?
As I alluded to earlier, the longer you leave the carb in the cleaner, the better it will work. With that said, if your carb just needs a quick cleaning, there's not much benefit in running it for more than 10 minutes or so.
Now you can start putting the carb back together.
This is a great time to make any jetting changes you were planning on doing.
Bottom Line
How do you clean a clogged jet in a carburetor? Buy an ultrasonic cleaner like this one on Amazon with some simple green cleaner and you'll be set for many carb cleanings to come!
It's cheaper in the long run if you plan on owning more than one bike.
How Do I Keep The Carb Clean Long-term?
Lastly, here are 5 simple tech tips on how to prevent your dirt bike carb from getting dirty:
- Ride more often: Yep, if all you do is ride more often, the gas is less likely to gum up and stick in the carb. Gas these days can go bad in a matter of weeks because of all the additives in it these days.
- Use better gas: Regular pump gas has ethanol, which attracts water 100x more than non-ethanol gas. Water is highly corrosive when it sits in your carb. Use a non-ethanol pump gas if possible and your carb will stay cleaner for longer.
- Don't use harsh solvents: Using carb cleaner or any solvent that is harsh on rubber or gasket material will eventually ruin your carb. If you're going to use chemicals to clean it, use something that's easy on the materials, such as simple green.
- Use fresh gas: Since pump gas breaks down and goes bad from sitting, it's best to use fresh gas when you ride. Fresh gas will usually give you a better throttle response and slightly more power compared to old gas.
- Filter the gas: The petcock in the gas tank has a filter, but sometimes dirt and gunk get passed it. Adding a fuel filter in line with the fuel line to the carb will filter out any more junk. I recommend this if you ride in an area that often gets dirty gas.
So, are you going to pay someone to clean your dirt bike carb when you can do it for the same price, and then be able to do it many times over for free?! Click Here to get your ultrasonic carb cleaner today (check price on Amazon).
Are you riding over your skill level and crashing on the trails?
Riding off-road requires skill, as you know, but there's one way to quickly improve your skills so that you ride with more control to prevent falling and getting hurt. It comes down to your riding technique, and I want to show you the proper techniques to ride with confidence and control off-road. Click here to learn more.